Contents
Regular plans vs Direct plans:
As a beginner in investing, we are often confused about how to start investing in mutual funds. There are so many ways to invest in it, be it directly with mutual fund houses or through a distributor. When it comes to distributors also there are plenty of options available in the market. These days multiple platforms have come up online that allow investing in mutual funds through them.
The convenience of investing through a distributor or an online platform is that you do not have to do any research regarding the funds to invest in. The distributor will do it for you and suggest a portfolio of suitable funds based on your risk appetite. But in return, they will charge a commission fee for their service. This will be deducted from the returns of your mutual fund plan. This is known as investing in a regular plan.
But if you are willing to put in the effort of doing the research on your own then you can save a lot of money in commissions over the long term. You can invest in the direct plans. NAV or the Net Asset Value of direct plans are always higher than the regular plan since in the latter the commissions are deducted from the NAV. Hence over the long term, direct plans give a much higher return than regular plans.
How to invest in direct plans online?
Here we will show you how to invest in a direct plan of a popular equity mutual fund through SIP. We have taken the example of HDFC Equity Fund which is presently one of the top funds in the category. The registration process may vary slightly from one fund house to another but the majority of the flow will remain the same. So let’s start then:
Step # 1
Go to the website of the mutual fund house (in this case HDFC mutual fund). Click on “New Investor” option

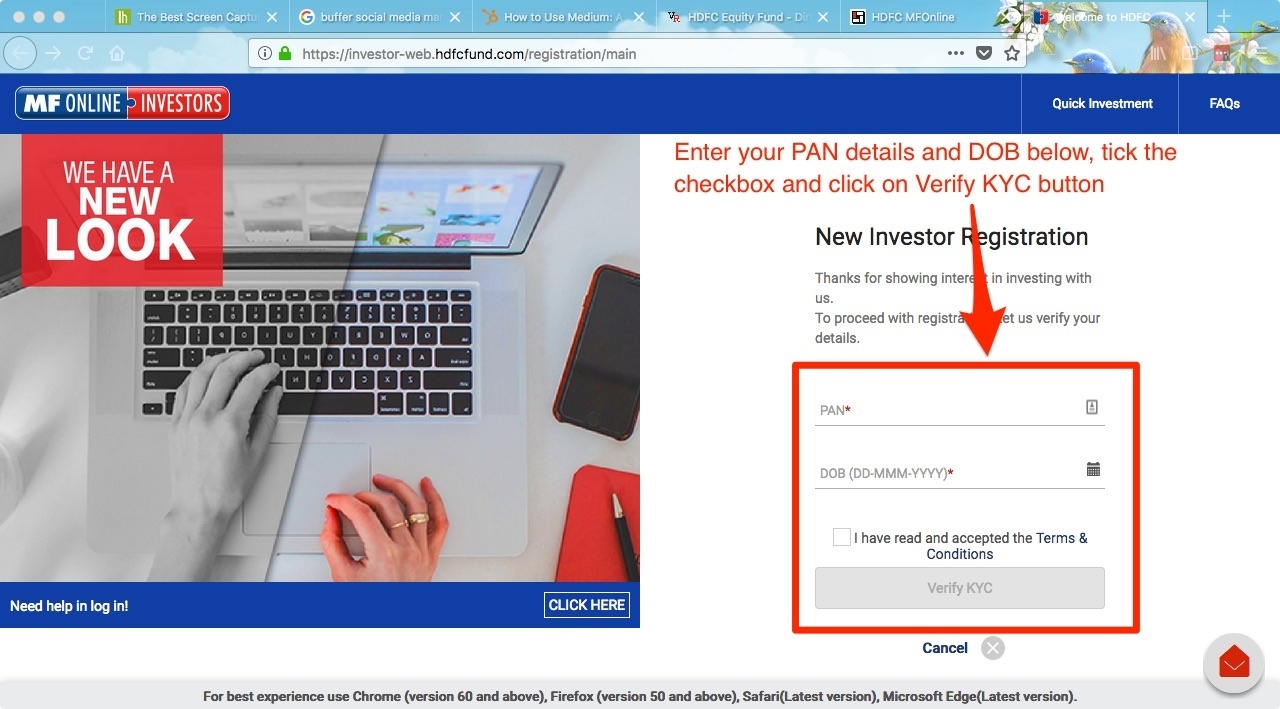
Step # 2
Enter PAN and date of birth details, accept the terms & conditions and click on Verify KYC button
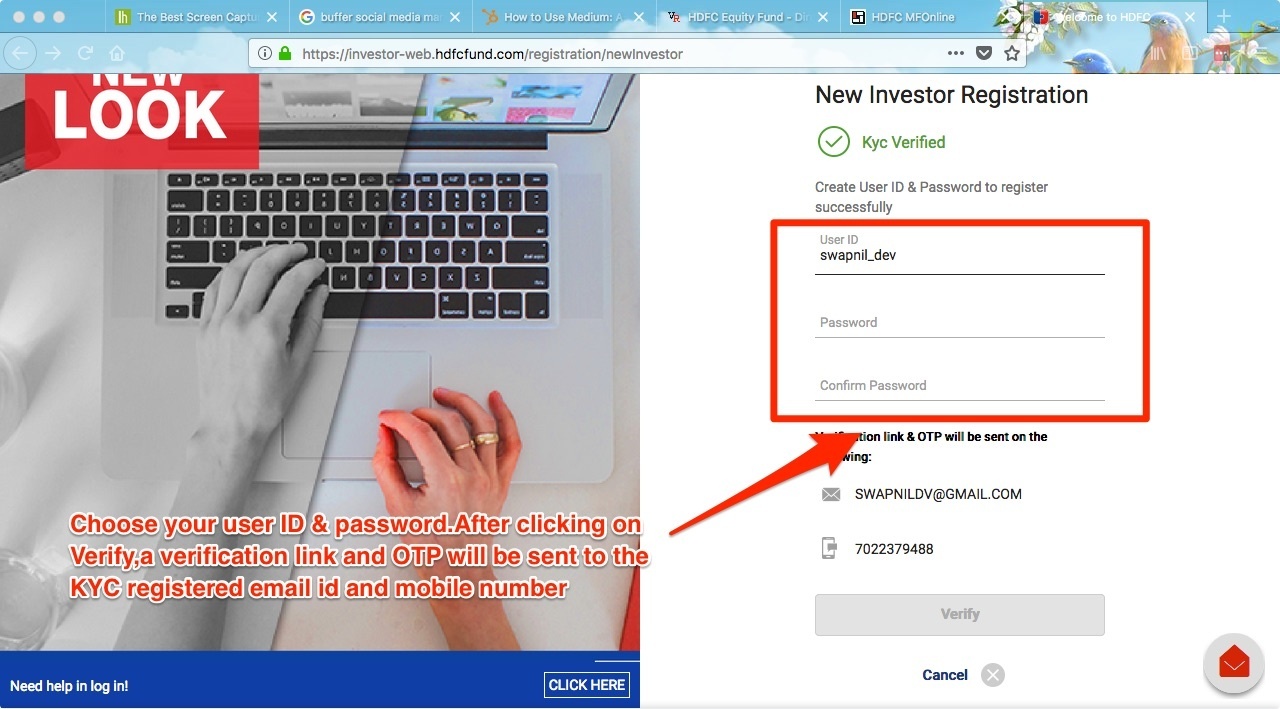
Step # 3
On the next screen, choose a suitable user ID that you can remember and enter the profile password. Check that your email id and mobile number are displayed correctly. Once you click on Verify, an OTP will be sent both to the email id and the mobile number.
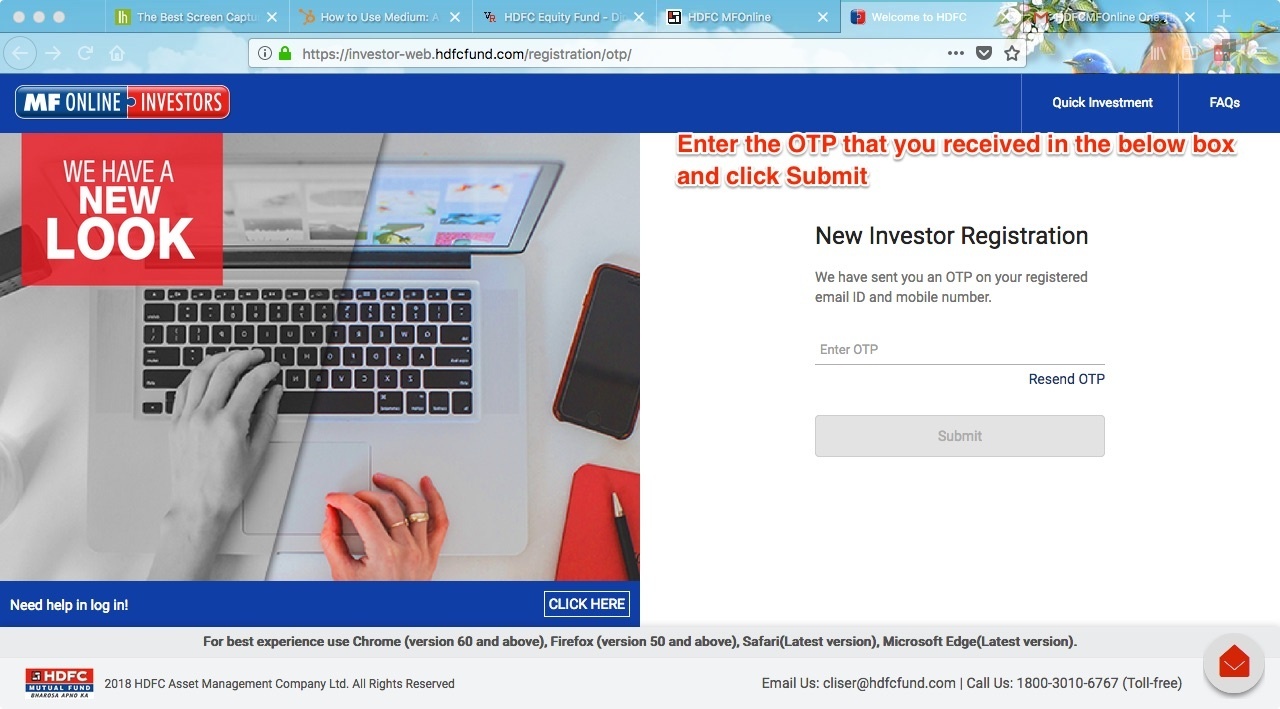
Step # 4
Once you get the OTP, enter it on the next screen and click on Submit.
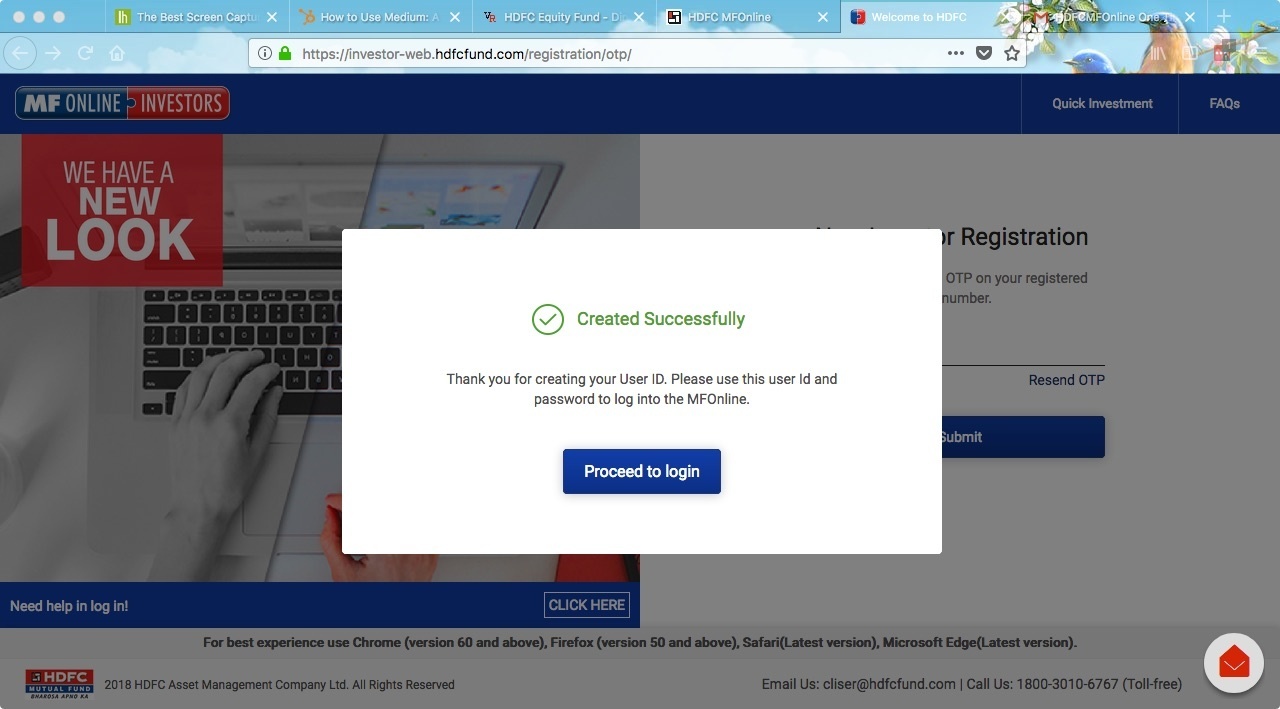
Step # 5
On the next screen, you will get an account creation confirmation message. Click on the “Proceed to login” button to login with the created user ID and password.
Step # 6
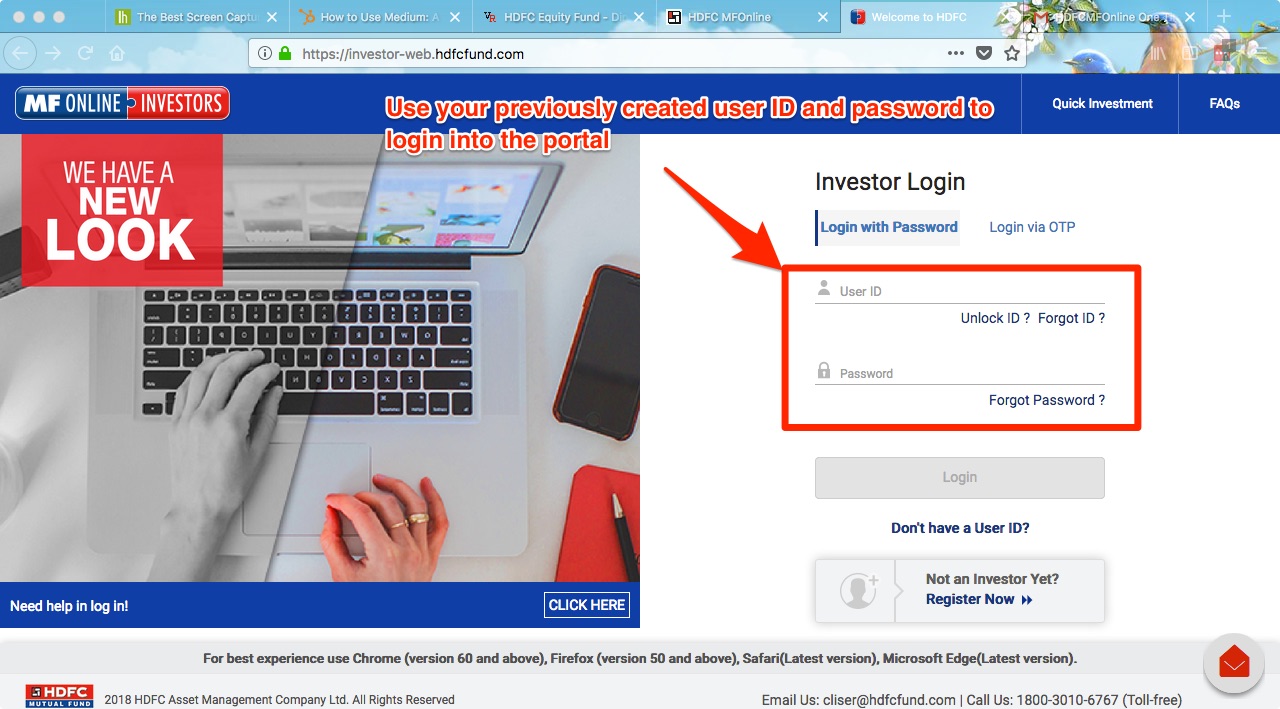
Enter your user ID and password and click on Login.
Step # 7
Click on “Start Now”.

Step # 8
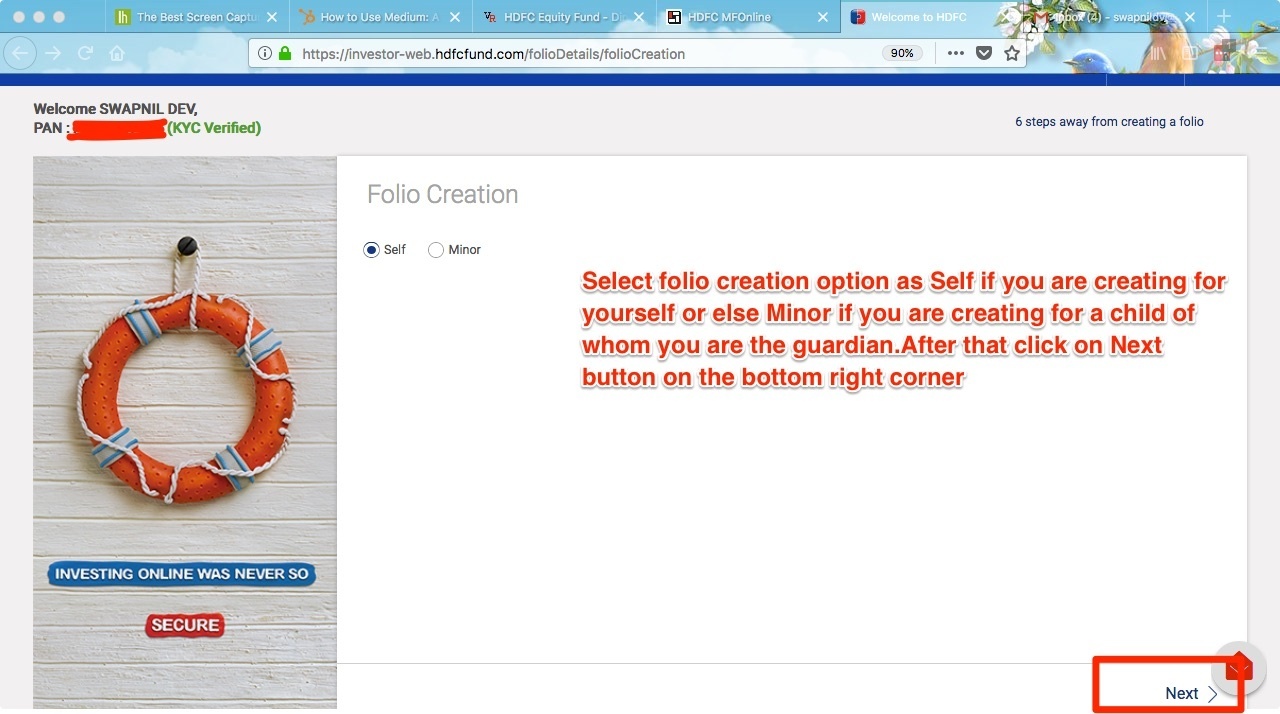
Select an appropriate folio creation option and click on Next.
Step # 9
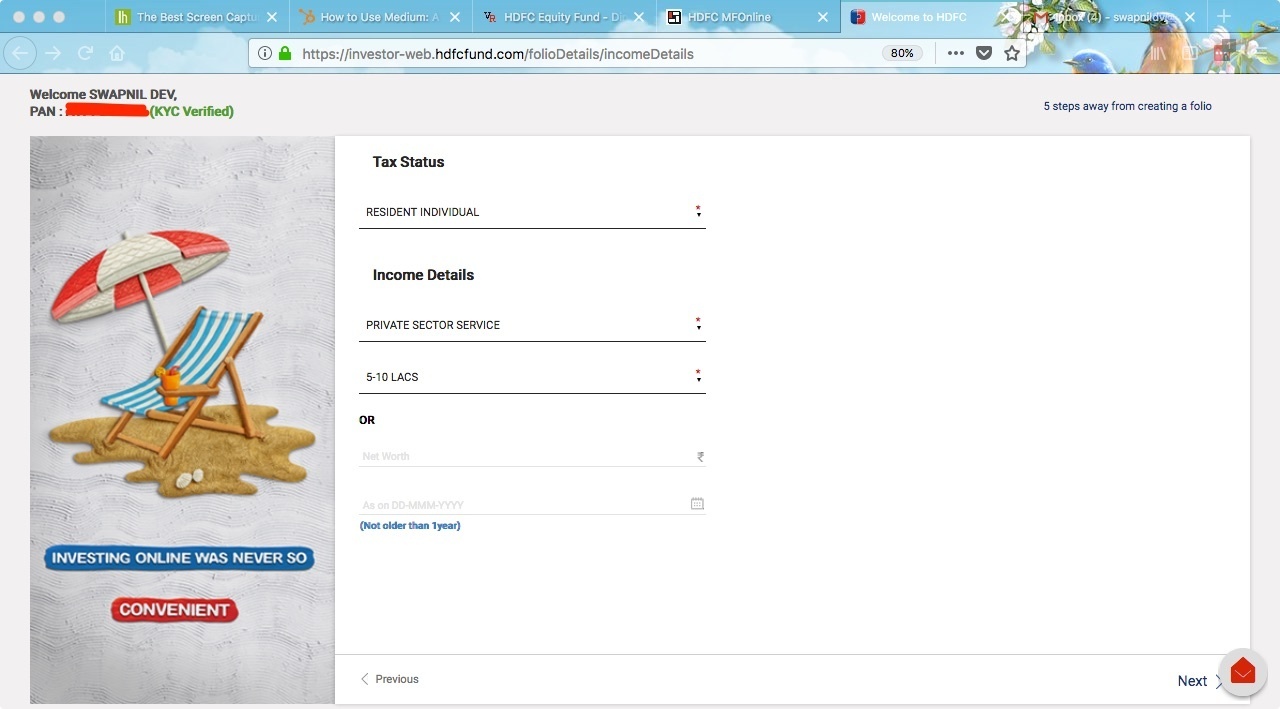
Enter tax status as “Resident Individual”, income details and click on Next.
Step # 10
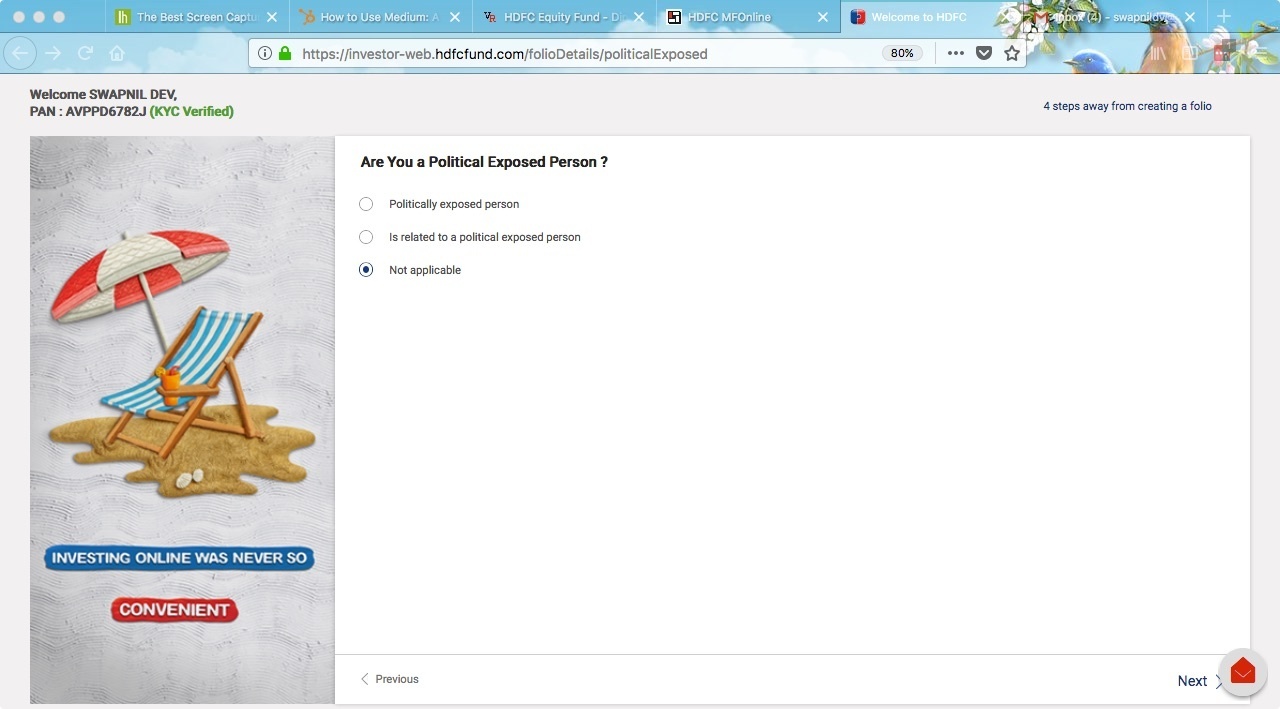
Select “Not Applicable” for the politically exposed question and proceed to the next page.
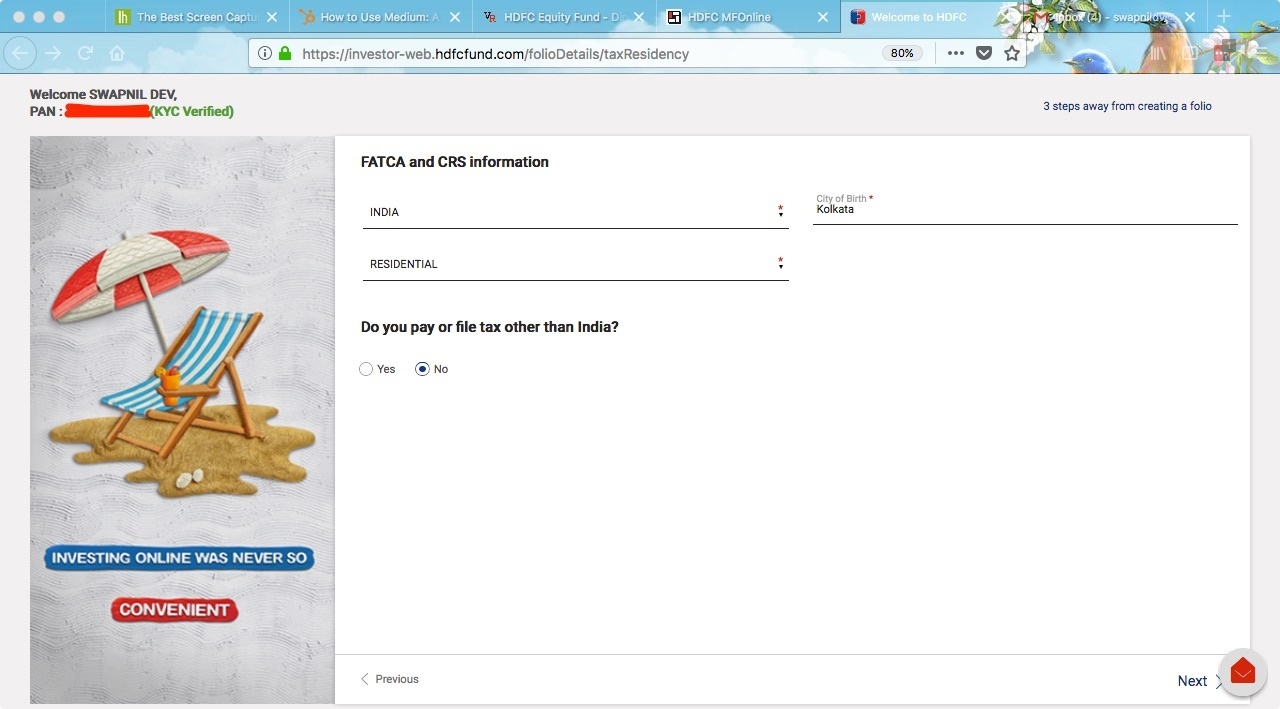
Step # 11
Enter country, city, option for address and select No for the tax question.
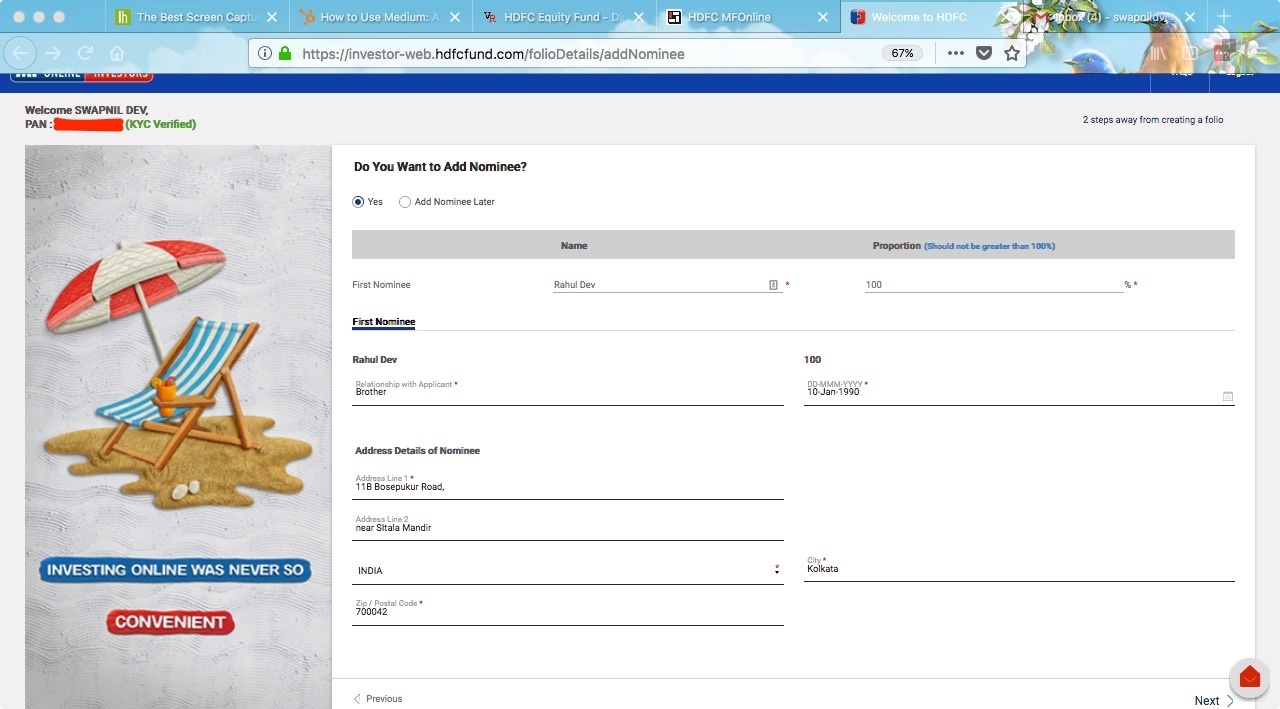
Step # 12
Next comes the nominee details page. If you want to add these details later you can select the “Add Nominee Later” option. Else select yes and fill up the required details.
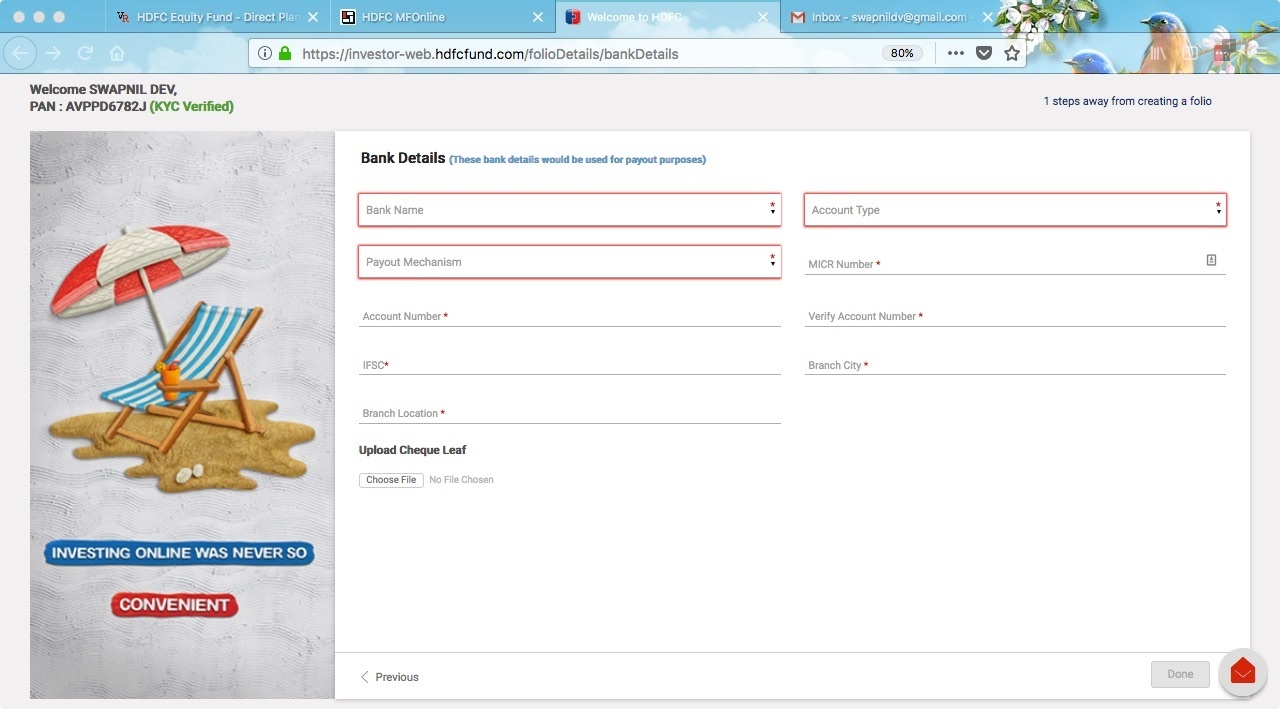
Step # 13
On the next page, fill up your bank account details. This is the account where you will receive the credits should you decide to redeem your investments later on.
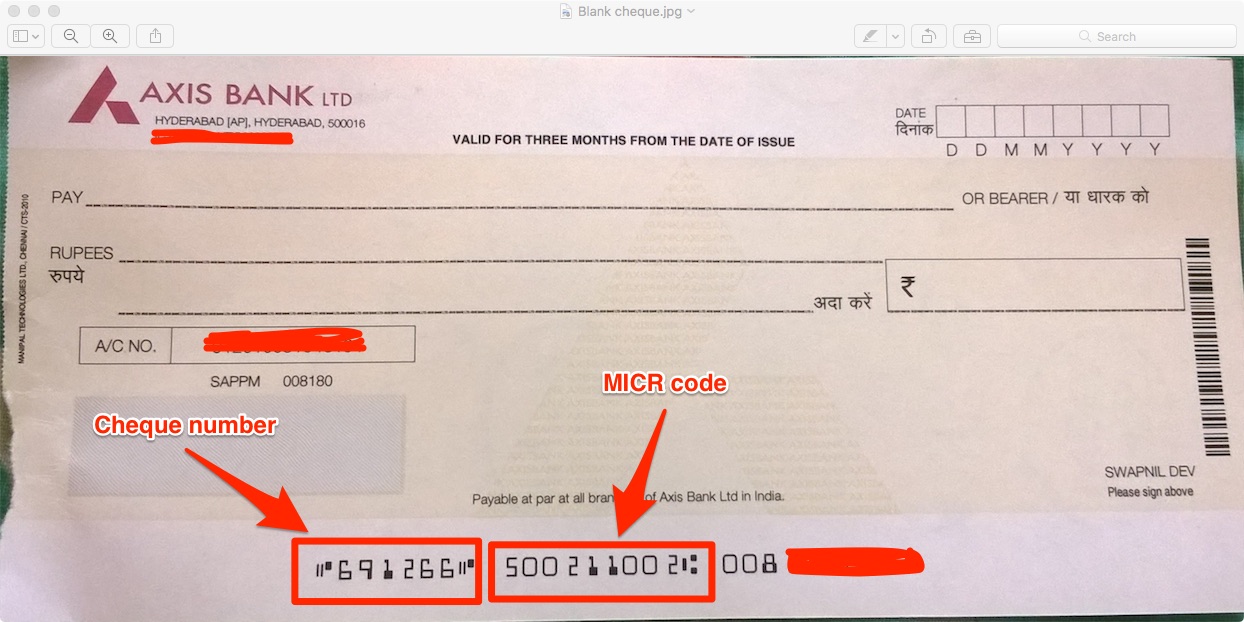
Step # 14
You can find the MICR number at the bottom of a cheque of the bank. Refer to the below image.
Step # 15
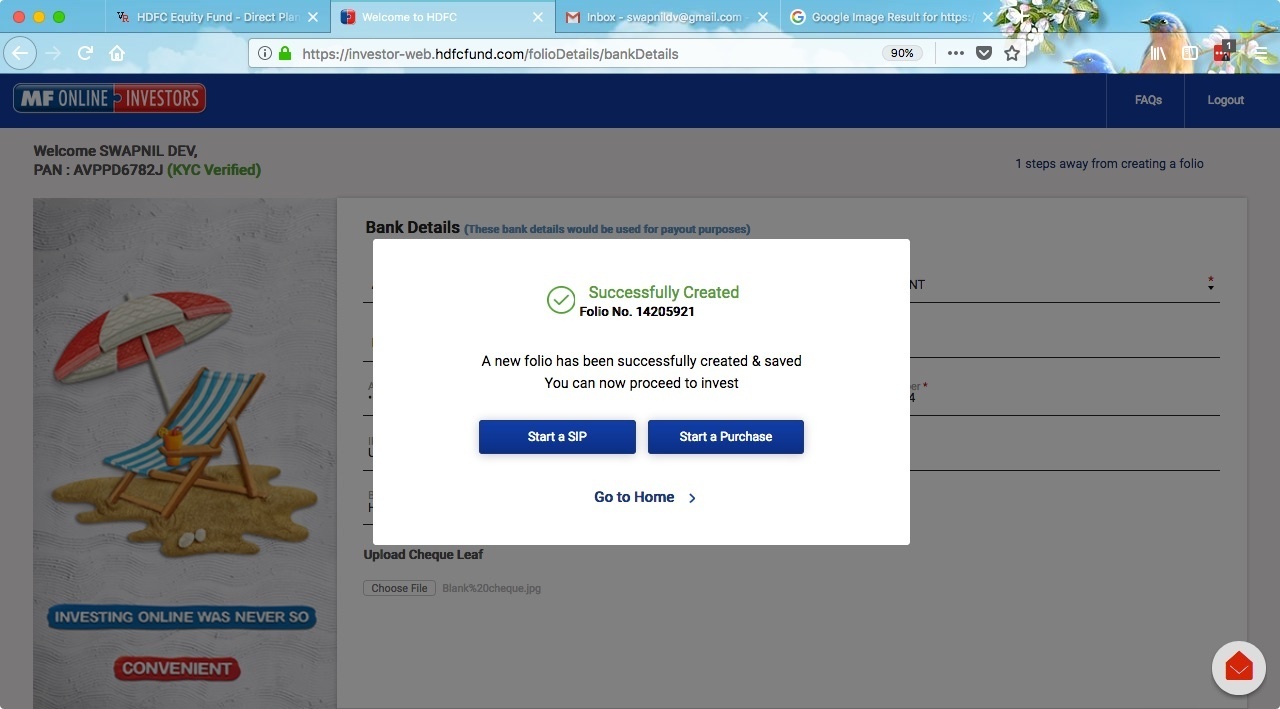
Once you fill up all the bank details, click on Done and you will get a success message with the newly created folio number. Click on “Start a SIP” button.
Step # 16
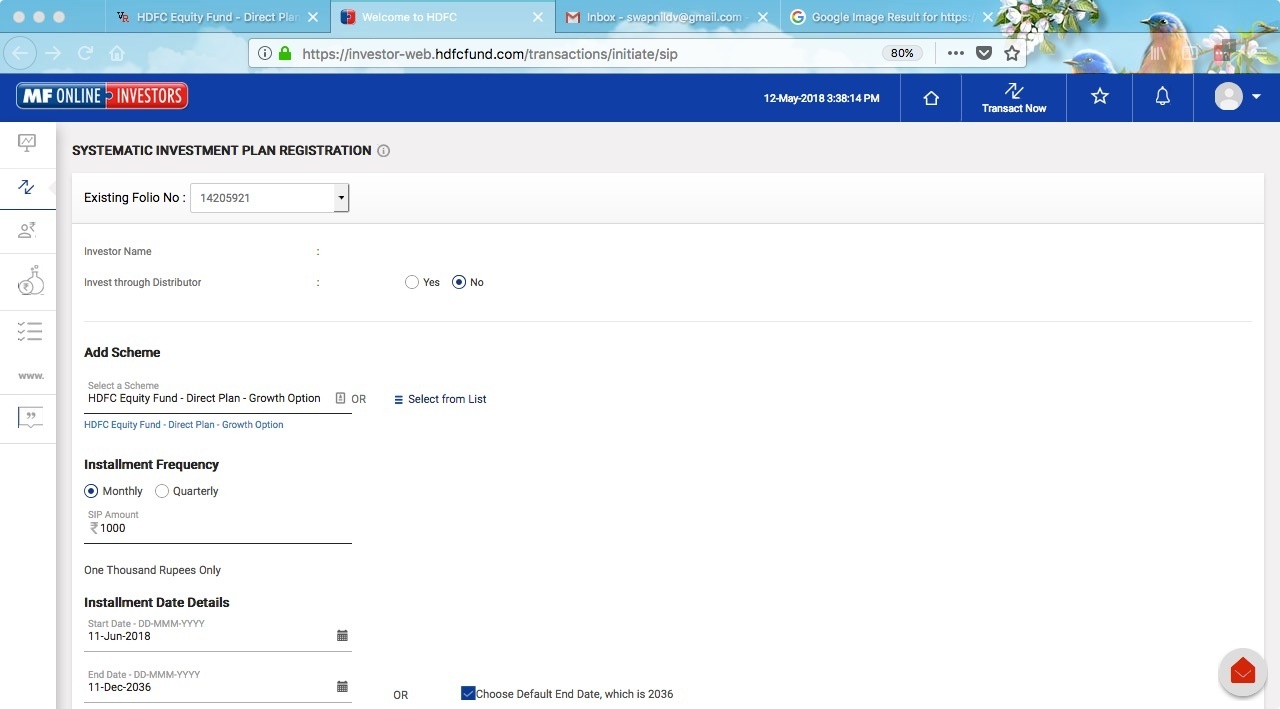
On the SIP registration page, fill up the details as follows:
- Invest through a distributor: No
- Select a scheme: HDFC Equity Fund-Direct Plan-Growth Option
- Instalment frequency: Monthly
- SIP amount: Rs.1000 (for example, you can enter as per your investment amount)
- Start date: Enter a date that is at least 21 calendar days after today’s date (this is the minimum time taken to register the SIP)
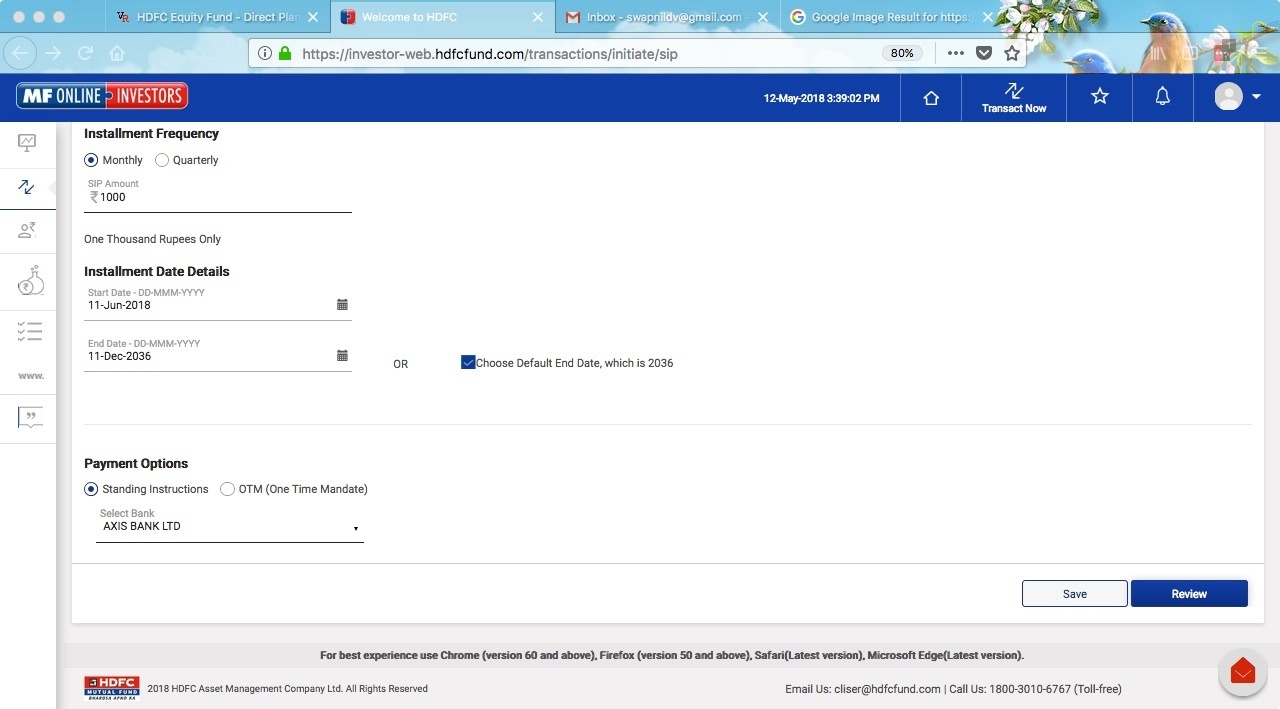
- End date: Select checkbox for default end date (you can still cancel the SIP anytime you want, this is just for starting the SIP)
- Select Bank: Choose your bank from among the given options.
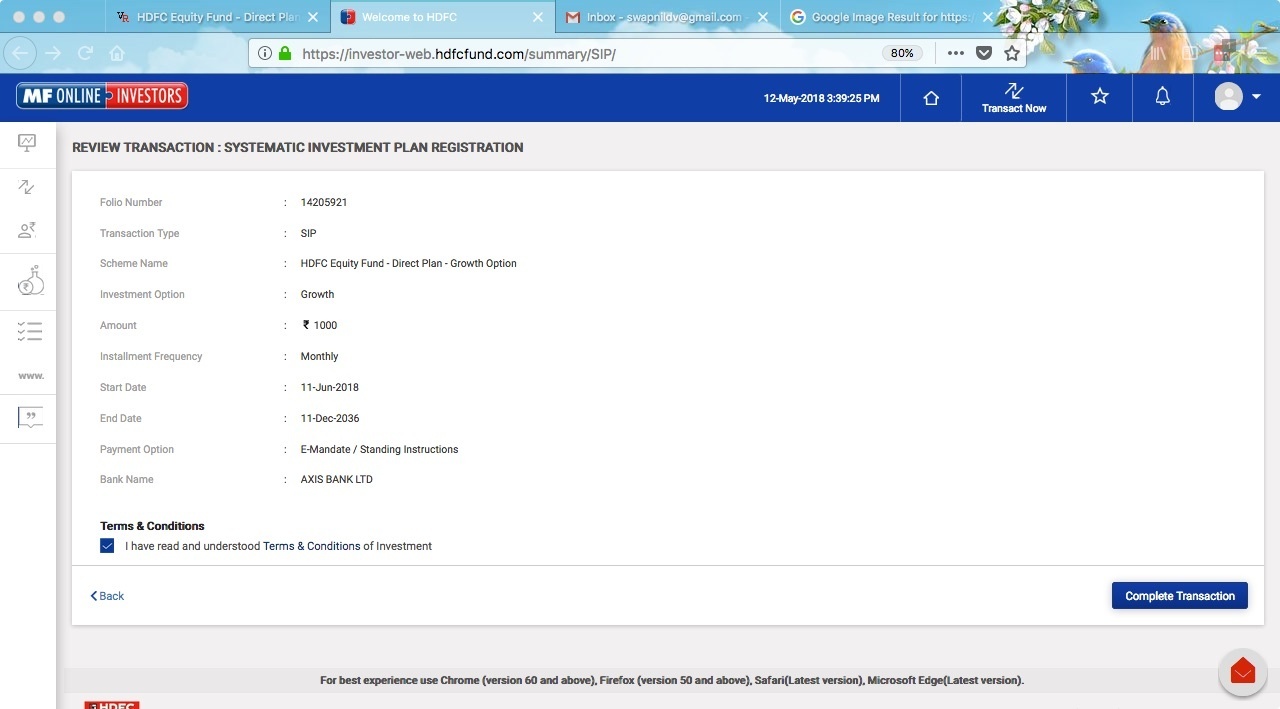
Step # 17
Click on the review button, check if all the details are correct and then finally click on Complete Transaction.
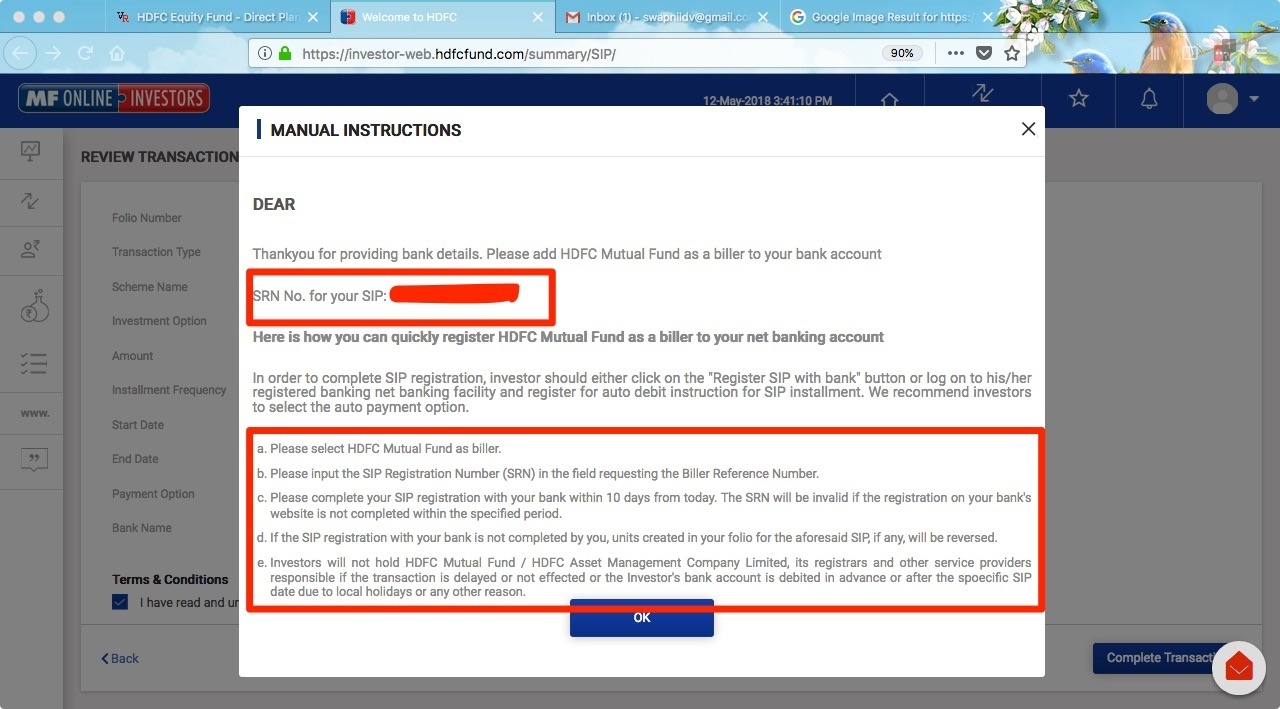
Step # 18
You will now see the SIP Registration Number (SRN) generated for your SIP. This is the number that you will have to provide while adding HDFC Mutual Fund as a biller to your net banking account. Read the instructions at the bottom of the page regarding how to add HDFC MF as a biller and complete the SIP registration process.
With this, we are all set to start our first SIP in a mutual fund. Remember that you will have to keep on investing systematically and with discipline in the SIPs if you want to generate a sizeable corpus in the future. If you miss even one SIP it can reduce the corpus by a large amount. SIPs help to take advantage of rupee cost averaging. Hence it is the preferred mode of investing in mutual funds than lumpsum but it will only work if you are consistent with your investments. Wish you the best of luck in your investment journey and happy investing.